- Tests are what is performed on samples which are defined by assays. To get to the tests page, click on Workflow, then Tests and finally All.
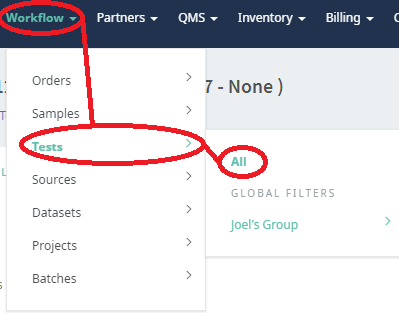
- Clicking this will bring you to all tests in the system (grouped together by sample.)
- Click on the + icon to see testing details for a sample (or all samples by clicking the + at the top.)
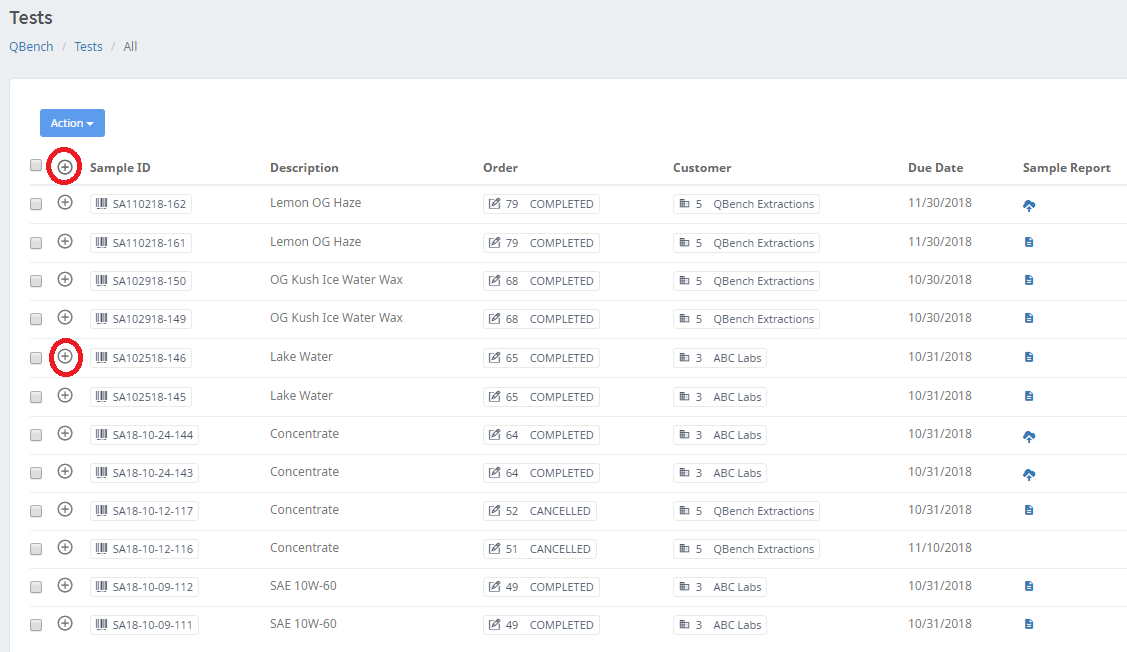
- Here, you can see links to other data types such as Sample ID, Orders, and Customers. Clicking on any of these individual items allows you to go to that page.
- After clicking on any given + icon, you can also see the Test ID. If clicked, you will be brought to the test page.
- Click on the + icon to see testing details for a sample (or all samples by clicking the + at the top.)
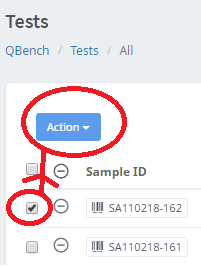
- For now, click on the checkbox next to the + (or -) icon of any sample. Then, click the Action button above.
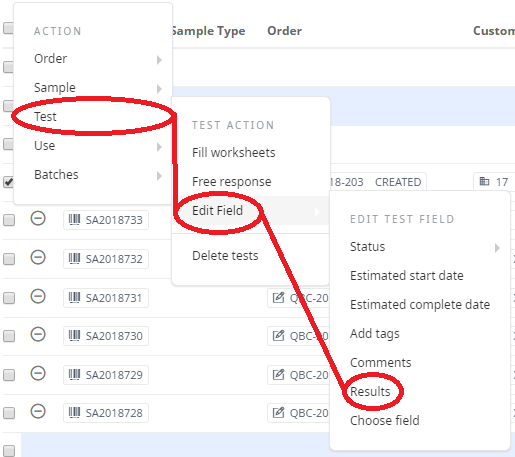
- After clicking on the Action button, go to Test, then Edit Field, then Status. This will open up the status menu.
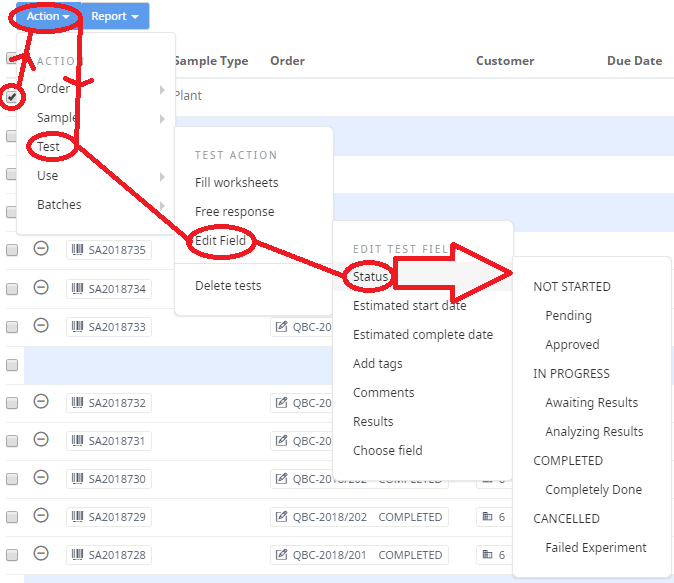
- You can then set the status of a test, depending on the stage it is in. This is logged in the History section of a test. See also Reporting.
- See more about statuses in Fields and Data Types.
- You can also add a result for a single data point by clicking the Action button, hovering over Test, then Edit field and finally clicking Results.
- This will open an input box besides these boxes where you can enter results. After entering your results, click the Submit button to the side.

- If your test requires multiple points of data for its results, you will need a worksheet. See also Worksheets.
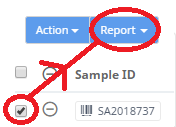
- After setting results, you can then generate a certificate of analysis. Check the box next to the sample ID in question, and click Report.
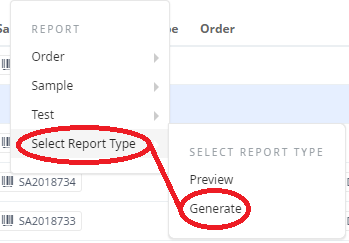
- Next, hover over Select Report Type and click Generate.
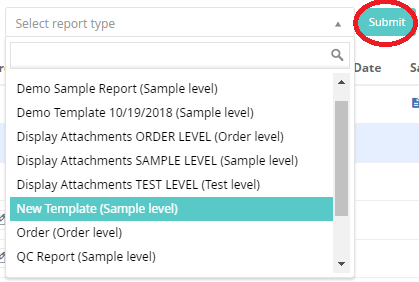
- This will create a dropdown menu where you can select a report. After selection, click the submit button.
- If you do not have a report template set up, contact QBench at support@qbench.net.
- Once the report has been generated, you will want to send the certificate of analysis to your customer. To do this, click on Report and go to that item (order, sample, or test.) You will see an option at the bottom that says Email.
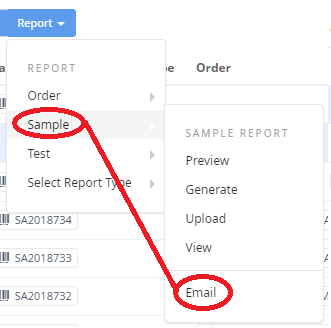
- You must choose the same report type as the report generated, or you will not be able to email the customer.
- Click on this option. A popup window will open and ask you to add emails or a message for the results. After finishing, click Submit to email the report to your customer.
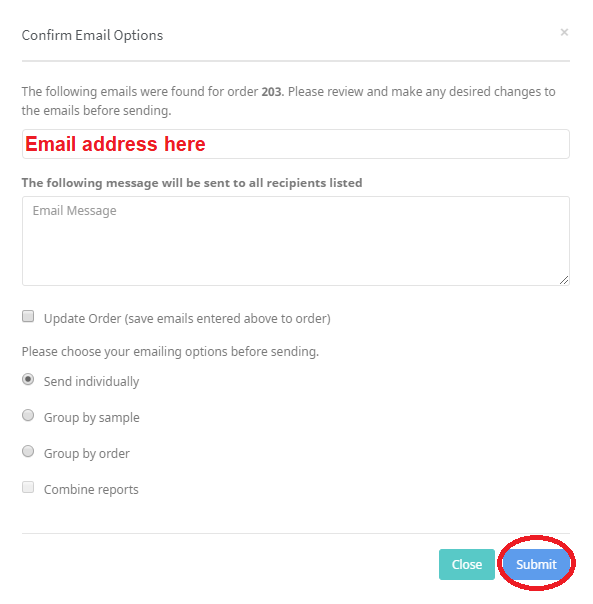
- You may already have an email format set up through QBench, see also Email through QBench. The message will populate the email in addition to the default template message.
- Remember you must enable emails on the Email page in order to send them. To do this, click the checkbox next to the word Enable.

- You can also filter QBench pages. See Filters. You can also configure your page view, see also Configuring Views. You can also customize fields in QBench. See also Fields and Data Types.
Tests Quick Reference Guide

Comments
0 comments
Please sign in to leave a comment.