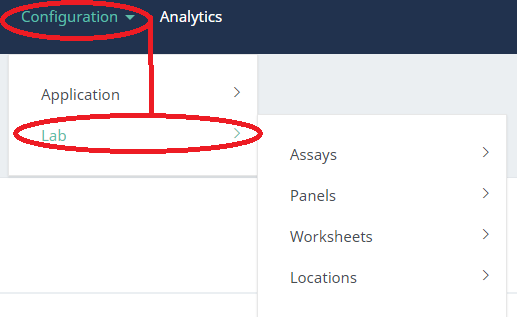
- Click on Configuration, then Lab, and finally Assays.
- By clicking on Assays, you’re able to click either +New Assay or All. To create a new assay, click on +New Assay. This will open a new page where you can enter details on this new assay. You can enter as much or as little as you wish, but you must add a title in order to create a new assay. (Configuration details can be found under Fields and Data Types.)
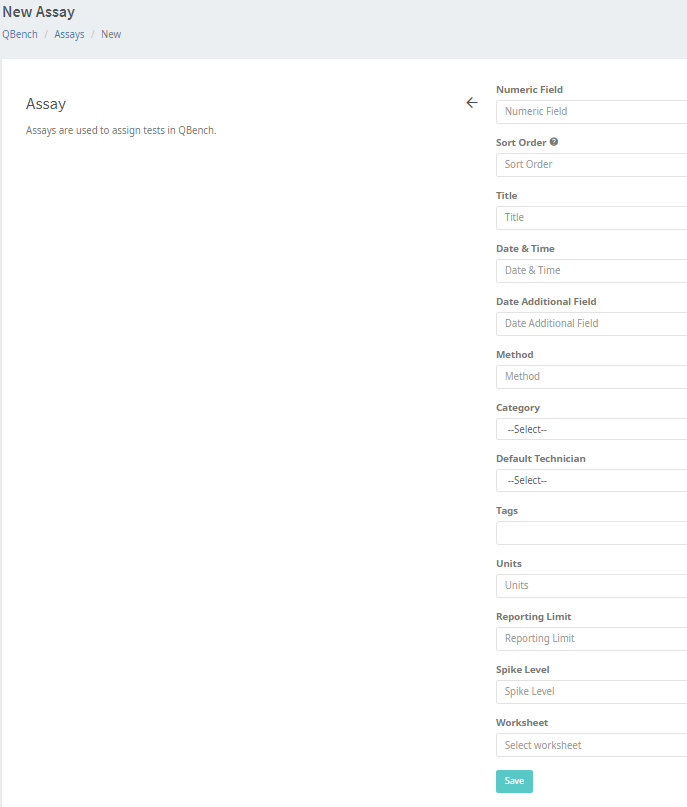
- Note: you can attach worksheets via a dropdown menu here. This assay will now appear on the worksheet's page. See also Worksheets.
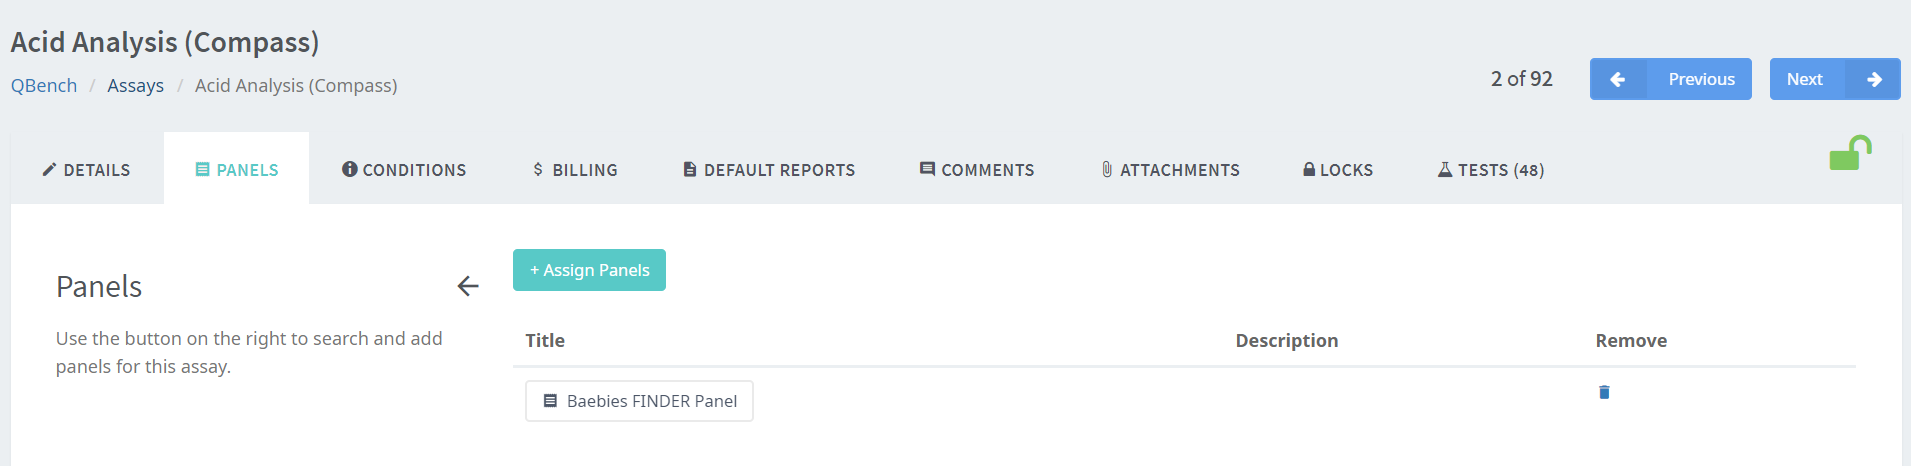
- After creating an assay by clicking Save, the window will reload with new tabs. After the Details page is the Panels page. From here you can either click the +Assign Panels button (see also Panels) or you can remove a panel by clicking the icon under Remove.
- The Conditions tab allows you to set conditions for assays. This will create a flag when certain conditions are met during the assay.
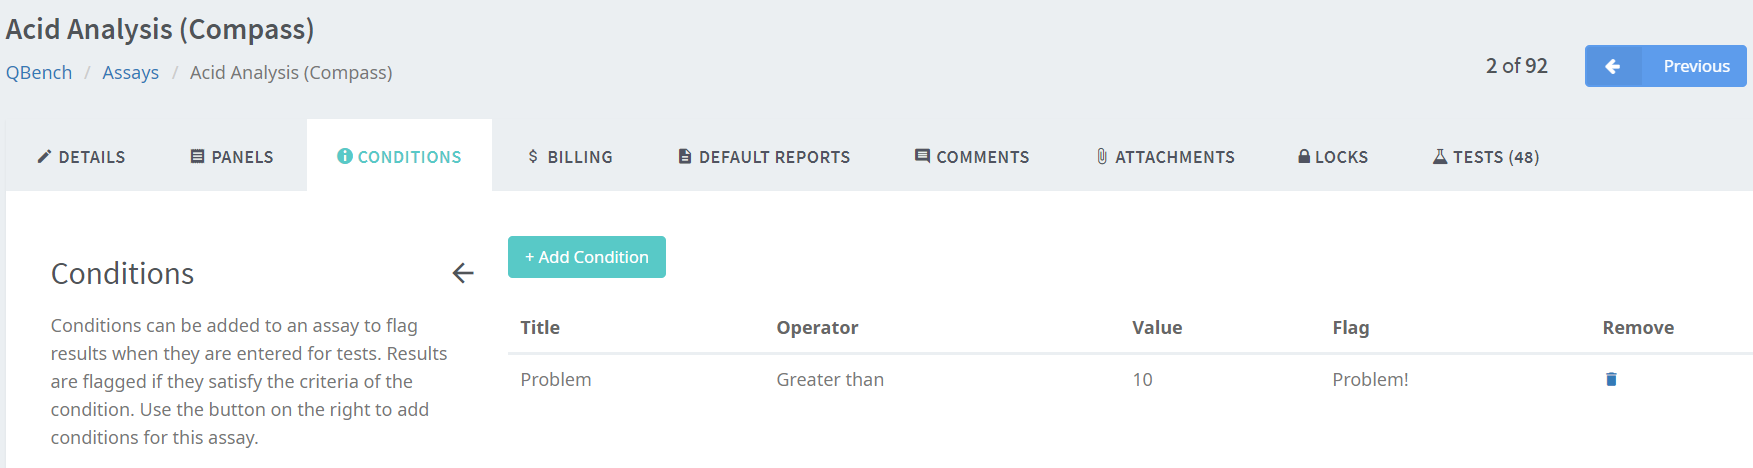
- Note that you cannot create new conditions in this tab. This must be done from the Gear under the All page for Assays. See also Configuring Dropdown Menu Options.
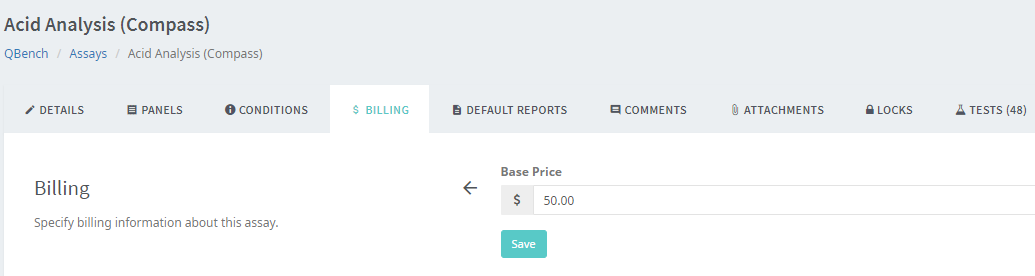
- If you have QBench's Billing module, you will also see the Billing tab. Here, you can save a base price for the assay you are viewing.
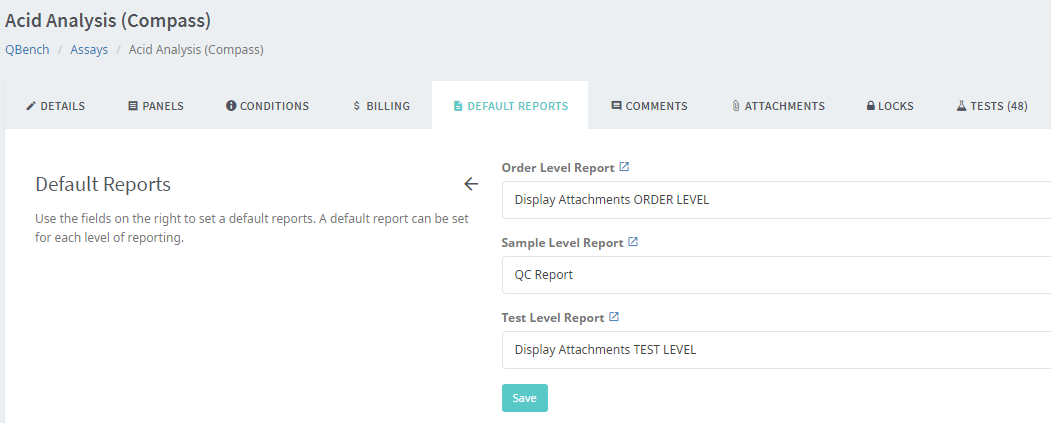
- Default Reports allows you to choose the default report for an assay as well. This will then be used when generating a report under Tests. See also Reporting Templates.
- The next tab is the Comments tab. This is for internal comments within the lab.
- The next tab is Attachments, where you can add files and and documents for your lab. You can also list notes or choose a new file name. When you are done, click the Upload button
- After you click Upload, other users will then be able to download this file by clicking the down arrow.
- You can also delete this attachment by clicking on the garbage can next to the arrow. Note that you must confirm deletion to remove an attachment.
- The next tab is Locks, which lets admins lock an order so that it cannot be altered. In order to lock an order, you must click on the lock icon.

- After clicking the lock icon, a new window will pop up. Here, you can assign a user who is able to unlock this order and leave a message.
- Finally, clicking on Tests will create a filter that lets you see all tests which have this assay.
- Go to Configuration, to Lab, to Assay and finally to All. You will see a list of all assays created. You can configure, filter, and export assay information. See also Configuring Views and Filters. Next to the configuration button is the export button. Clicking on this with a sample checked allows you to Export Selected samples or Export All. See also Exporting and Importing.
- Finally, you can also see the the gear for creating Categories and Conditions. See also Dropdown Menu Configuration.
Assays

Comments
0 comments
Please sign in to leave a comment.